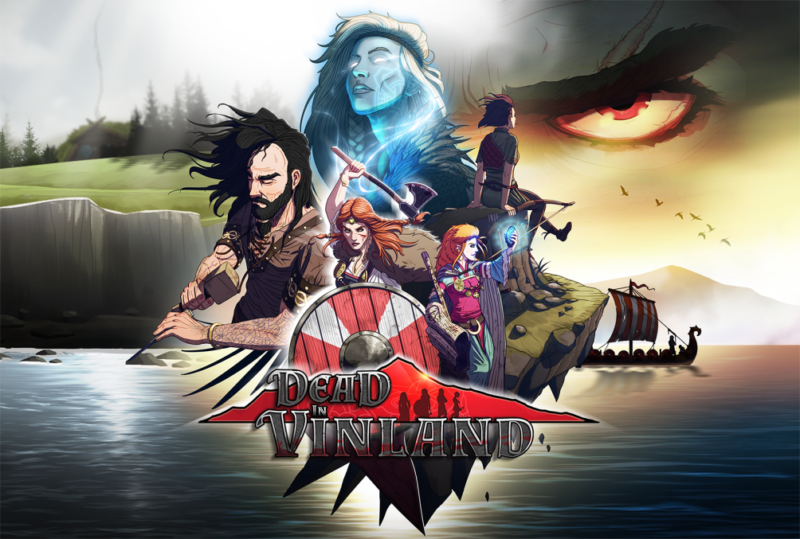
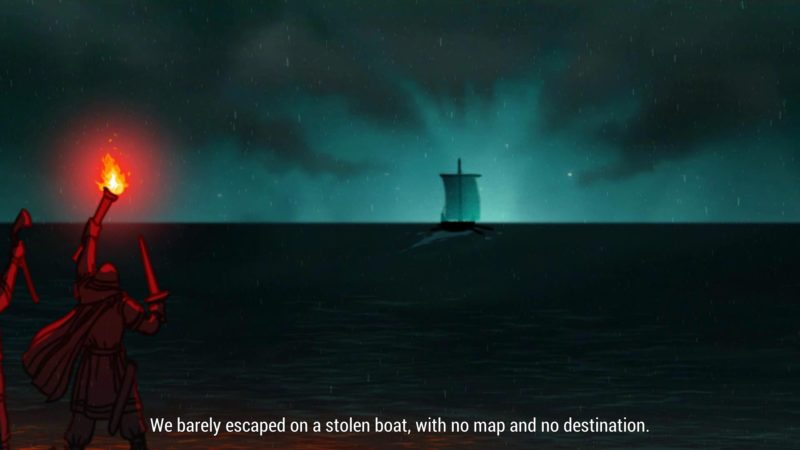
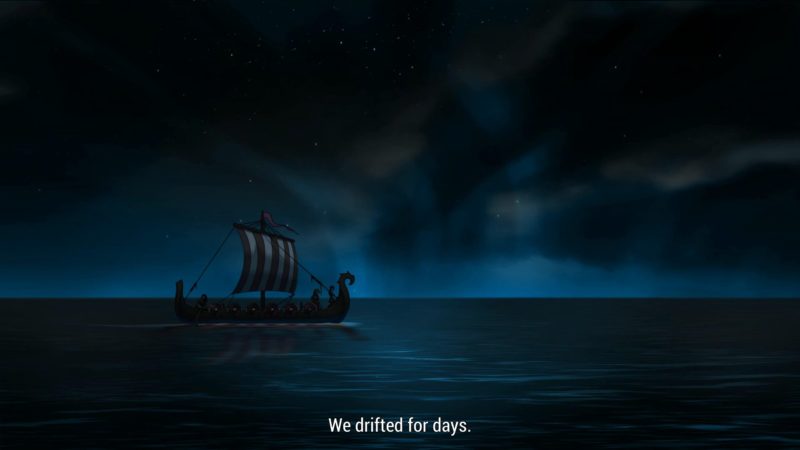
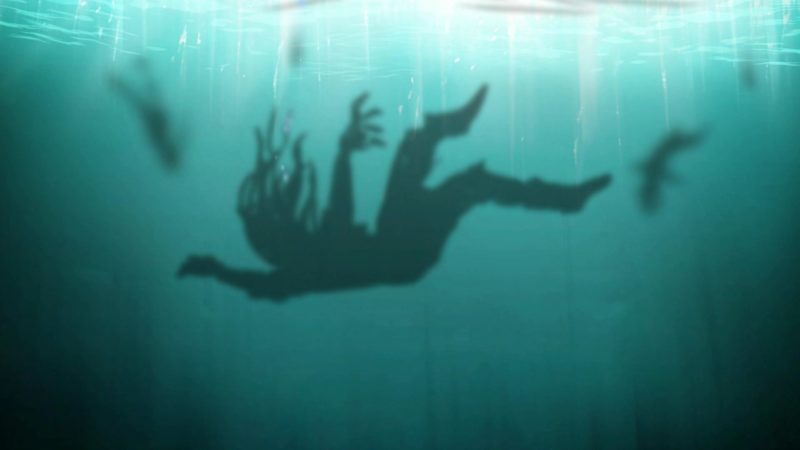
Dead in Vinland is a strategy/survival game set during the time of the Vikings. The game opens with a family of 4 fleeing from a group of soldiers burning their home. They escape on a boat and sail for 7 days before being shipwrecked on an unknown island far to the west. Upon exploring the island, they find a hut that is clearly man-made. If you choose to look for survivors, you will find 3 skeletons near the hut, it is implied that these are the former owners of the hut. The family decides to use the hut as a base of operations for their survival on the island. After about 2 days, a group of Viking bandits finds the camp and tries to overpower the family. After defeating the first wave of enemies, the leader of the Viking bandits decides to take the field himself. The fight against the leader is un-winnable (not only do his attacks one-shot most of your party but none of your playable characters can do any damage to him). After defeating the family, the leader decides to spare their lives in return for them paying him “tribute” once a week.
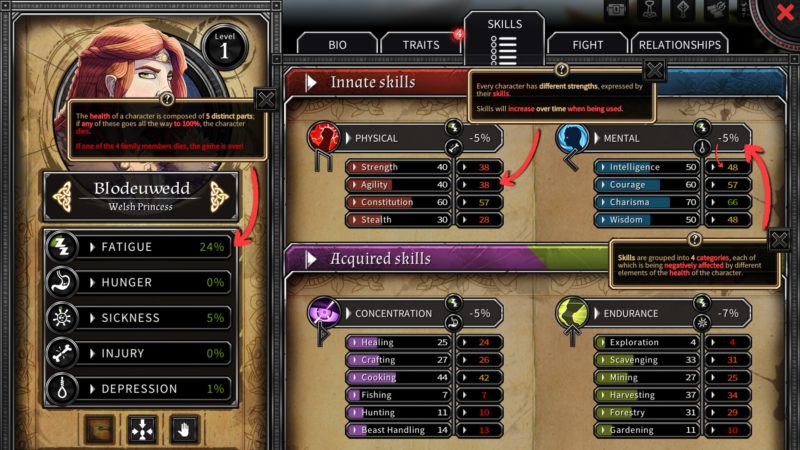
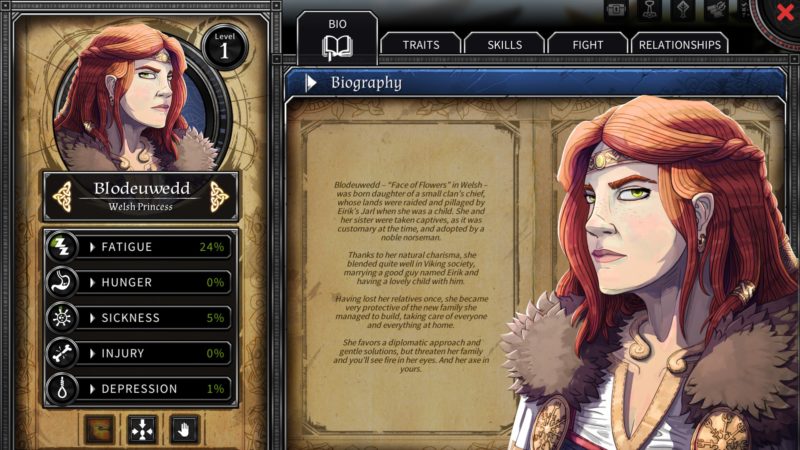
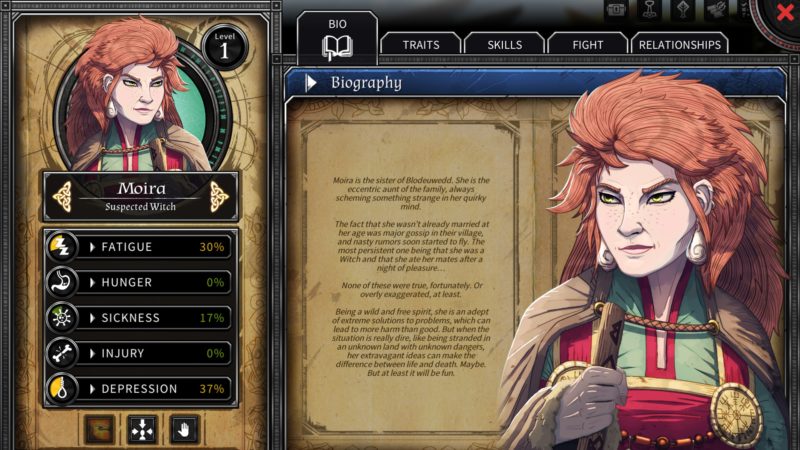
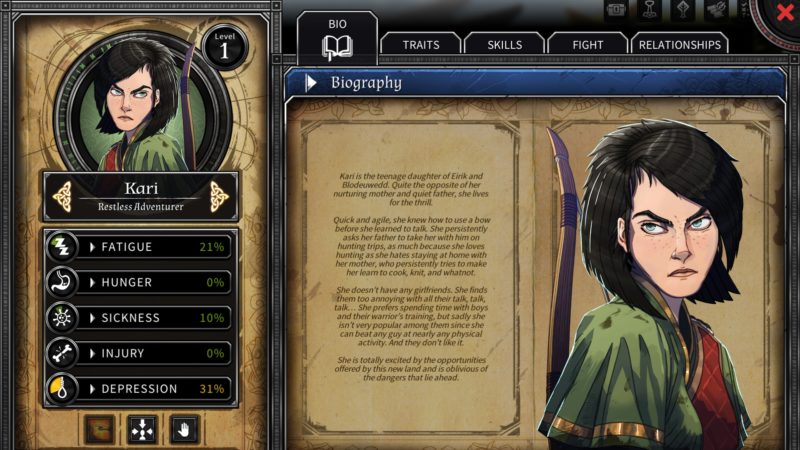
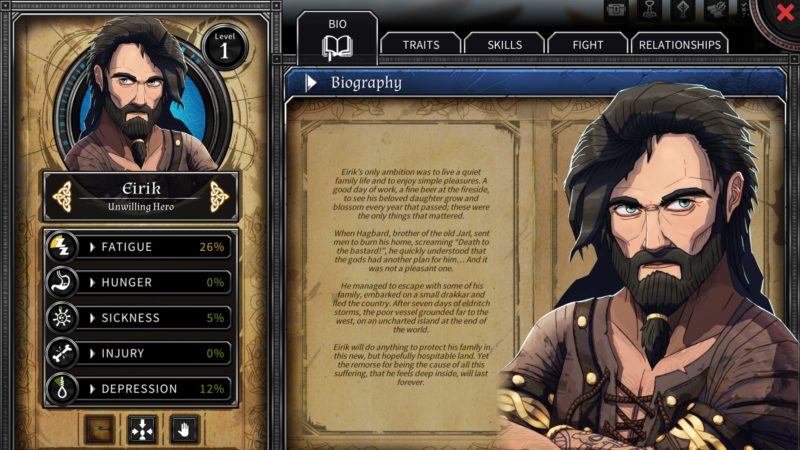
Every playable character has 5 meters representing their health: fatigue, illness, injury, hunger, and depression. If any of these 5 meters reaches 100, the character will die. If any of the original 4 characters die, you will get a game-over. Any characters you unlock after the original 4 can die without causing a game-over, you simply lose the ability to use that character.
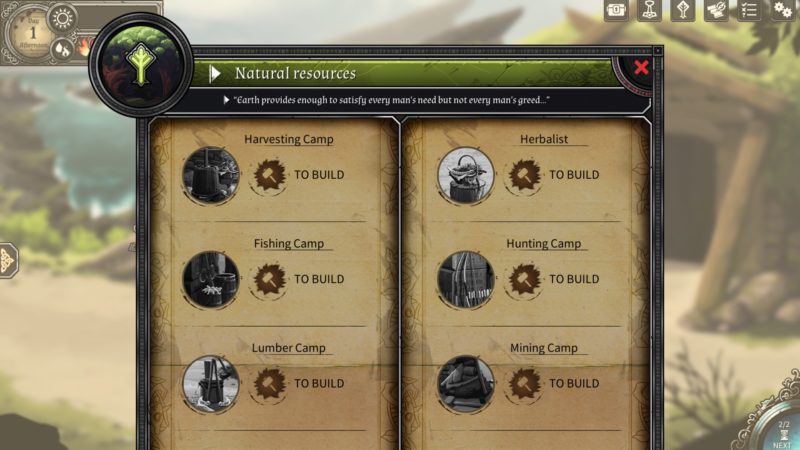
At the hut/base camp, you can assign your characters to do various tasks. To begin with, you only have access to scavenging the shipwreck (something that can only be done about 8 times), forging new stations from gathered materials, gathering water, and exploring the island. As you create/upgrade stations at the forge, the amount of activities you can do increases.
Each day is broken up into 3 phases: morning, afternoon, and night. During the morning and afternoon, you can assign each of your characters to one station (or assign 2 or 3 characters to one station provided it has been upgraded). Some of the stations—like the tavern and the healing tent—require at least 2 characters to be stationed at it. When you assign a character to a station, not only will their effectiveness at that station be shown, but the health meter(s) that will be affected by working at that station will light up. If you don’t want to assign a character to a station, then you can have them wait in the hut (which will allow them to recover some fatigue). Once you have everyone assigned to a station you can press a button to advance the day (i.e: press the button in the morning and time advances to the afternoon). Everyone will then do their assigned tasks once the button has been pressed. One thing of note is that crafting will only use up materials once the advance time button is pressed.
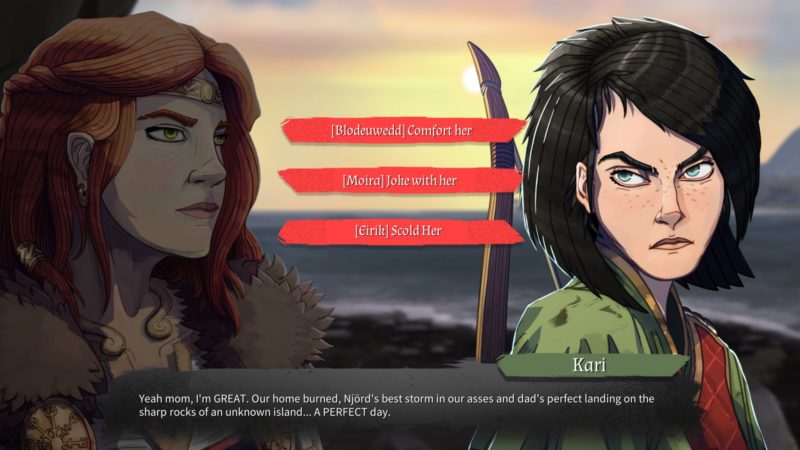
During the night, the characters will converse with each other. Some of these conversations are triggered by things like: the story progressing, a new station being built, or a new person joining the camp. The rest of the conversations will occur at random. While some of these conversations don’t do anything, most of them have some sort of effect such as raising/lowering one of a character’s health meters (the most common one affected being depression), increasing/decreasing the bond between two characters, or bestowing a random buff or debuff on one or more of the characters.
After the characters are done conversing for the night, you can assign water rations to the ones that are marked as dehydrated. You can give them part of a ration, but the percentage of the ration you give is equal to the chances of that ration removing the dehydration status (for example, if you give a character ¼ of a ration, then they have a 25% chance to lose the dehydrated status). I would usually stick to giving each character 1 ration each so as to not risk dehydration not being treated (while this might seem extreme, keep in mind that your camp can hold up to 10 rations of water, water is easy to collect, and each character has a CHANCE of being dehydrated, it is not guaranteed they will be dehydrated come nightfall). After assigning water rations to each of the dehydrated characters, the characters will drink their rations and will either have their dehydration removed (if you gave them a whole ration) or might have their dehydration removed (if you chose only a portion of a ration). Characters that do not have their dehydration removed will not only have it carry over to the next night, but there is a chance that their dehydration will move up a stage. If a character’s dehydration reaches stage 4, then they will die.
The final phase of the night is giving the characters food to lower their hunger (which rises at the beginning of this phase). 10-40% of the food marked as non-perishable will become rotten (inedible) on the arrival of the next day, so it is recommended you use all the non-perishable food you collected during the day. After all 3 phases of the night are complete, all characters will have their fatigue meter lowered by a random amount (the range of this amount can be improved by upgrading the hut through the forge). Something to keep in mind is that health meters can increase or decrease at any point during the night (the day’s weather and character buffs/debuffs influence which meters are effected) and characters will still die if one of their meters reaches 100 (I can not count the number of times I have lost a character that had one of their meters at/above 90 only for it to reach 100 during the night, I would usually try reloading the game and be more careful during the day so as to not lose that character).
Each day has a random weather assigned to it. The only 3 weathers I saw during my time with the game were standard, raining, and drought. Each form of the weather has various effects (for example, your water supplies will fill themselves during a rainy day while your camp’s fire will lose more power than normal).
Amount of water and the strength of the camp’s fire are considered the most important of your resources and, as such, have meters displaying them both in the upper left corner of the screen while you are at the camp. Water is divided into 2 categories: potable (drinkable) water and non-potable water. You can hold 10 rations worth of potable water and 20 rations worth of non-potable water. Any water gathered from the water-gathering station is non-potable. You can convert non-potable water to potable water by using your camp’s fire, but the fire will lose some strength as a result. If the fire reaches 0% strength, it will go out and according to the game’s logic, you need a fire mushroom to restart the fire if it ever goes out (no you can’t rub 2 sticks together or use any of the known ways of starting a fire, the game does not allow it). The fire mushrooms are rare, and as such it is considered a good strategy to always keep the fire from going out. You can increase the strength of the fire by feeding it any wood you have collected, although the fire can’t go above 100% strength. Aside from converting water, the fire will also lose a random amount of strength at the end of each night (this amount is greater during rainy days if the hut hasn’t been upgraded to resist it).
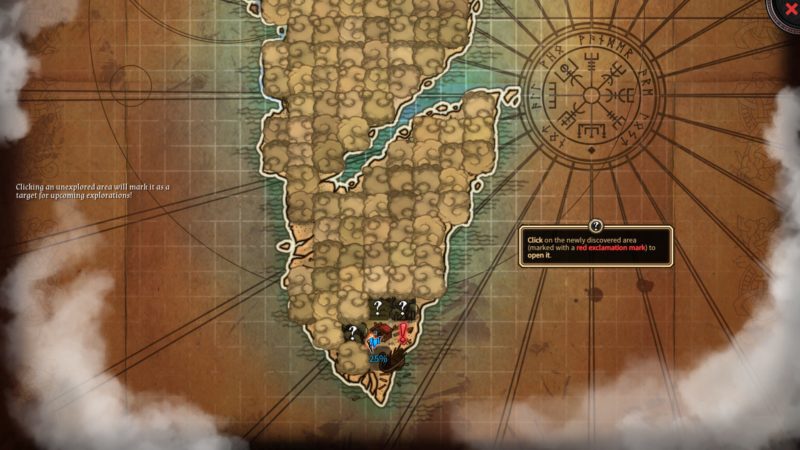
Exploring the island (done through the exploration station) will have the assigned character leave to explore part of the island. When they do this, a meter will appear showing the percentage of that area that the character has explored. Once the character explores 100% of an area, that area will be added to the map. Most of these areas will have one interactable item that has different uses. Any options in white text can be done as many times as are mentioned left, but choosing an action written in red will destroy the object after the action has been completed. Sometimes, these areas will contain a new character who can join your camp if you have space available in the hut. The hut starts with 6 spaces (4 of which will always be filled by the family of 4) but the number can be increased through upgrades at the forge. Exploring the island also has a chance of triggering a battle (the chances of which are determined by the character’s stealth stat).
Battles in the game are turn-based with the turn order being decided by a character’s initiative. After each character has taken their turn, the next round of turns is again decided by the initiative values of the characters (certain skills in battle can raise or lower a character’s initiative between turns). All characters have attack skills, each of which cost a certain amount of AP (action points). When a character runs out of AP, their turn is over. They can also choose to end their turn early which will give them an extra AP on their next turn. You can take 3 of your characters into battle and both sides of the battlefield are divided into two parts—the ranged row and the melee row. Certain skills can only be used from one row or the other (or are only able to hit characters in one row on the opposite side). Close-range fighters (such as sword wielders) usually only have skills that can target the melee row while ranged fighters (such as archers) have skills that can attack enemies in either row. Additionally, if there aren’t any characters in the melee row, then the ranged row converts to a melee row until there is at least one character occupying the old melee row. Characters have one row of red hearts to represent how much damage they can take. Some characters also have an additional row of white hearts that absorb damage before the red hearts are affected. While losing white hearts has no consequence, the number of red hearts your characters lose during battle will determine how much their injury meter will rise (usually between 10 and 20 points). Any characters that are injured in battle also face the risk of receiving a random debuff that will effect their abilities either on or off the battlefield (most of these debuffs are removed after a certain number of days, but some of them can only be removed through the use of a healing item or the healing tent station). If a character loses all their hearts during the battle, they will be removed from the battle and, while they won’t die, their injury meter will jump up by 30 points.
The weekly tribute demanded by the Viking bandit leader (and the number of days left until the tribute is due) are also in the upper left corner of the screen (alongside the values for amount of water and the strength of the camp’s fire). While the tributes start off small (the first tribute is 10 pieces of wood) they gradually grow larger and harder. If you do not have enough resources to pay the tribute, the Viking bandit leader will come to your camp, injure one of the family of 4 at random, and demand the tribute be satisfied. At this point, you can only send off members of the family to gather more resources, but each time you do this their fatigue will greatly increase. The one time I tried ignoring the tribute, one of the members of the family ended up dying from fatigue before the tribute could be reached and I got a game-over.
From what I could tell, there is no way to fight the Viking bandit leader if he comes to your camp (and even if there is, I found no way of permanently increasing a character’s health and raising their combat stats takes a long time, meaning that you would probably lose again). However, the game implies that through exploration, you can find the camp of the Viking bandits and then, once it is found, you can take measures to fight back against the Viking bandits and their mighty leader. I say it is implied because I was never able to find their camp before the tribute became too high for me to pay. Clearly you always need to have someone exploring (I tended to blow it off after a while so as to focus on gathering resources to improve the health of the characters and upgrade the camp).
Overall, I had fun playing this game. I thought it was well designed and offered a balance between fighting off enemies and trying to gather resources to allow your characters to survive. As such, I think a fair rating for it would be 9/10.
Take a Look at the Dead in Vinland Launch Trailer:
Dead in Vinland is available on PC and Mac via Steam, GOG or Origin.
PC Review
-
Overall Score - 9/109/10
I am a recent Computer Science/Game Development Programming Chapman University Graduate. I am a life long enthusiast of computer/video gaming and my favorite game genres are adventure, choice-driven stories, fighting, and racing. My favorite game/movie series include but aren't limited to 'Legend of Zelda'; 'Dragon Age'; 'Persona'; 'Sonic the Hedgehog'; 'Mario'; 'Metroid' ;'Megaman'; 'Naruto'; 'Batman'; 'Spiderman'; 'Star Wars'; and 'Star Trek.'


More Stories
PowerWash Simulator 2 Adventure Time Special Pack Available Now for PC, Xbox Series X/S, and PlayStation 5
MINOS Review for Steam
People of Note Review for PlayStation 5